Sunday 7 June 2020

Faux Lapis Lazuli effect on ceramic egg

Lapis Lazuli is one of the oldest of all gems, with a history stretching back some 7000 years or more. This mineral is important not just as a gem, but also as a pigment, for ultramarine is produced from crushed lapis lazuli (this is why old paintings using ultramarine for their blue pigments never fade).

For lapis lazuli, the finest color will be an even, intense blue, lightly dusted with small flecks of golden pyrite.

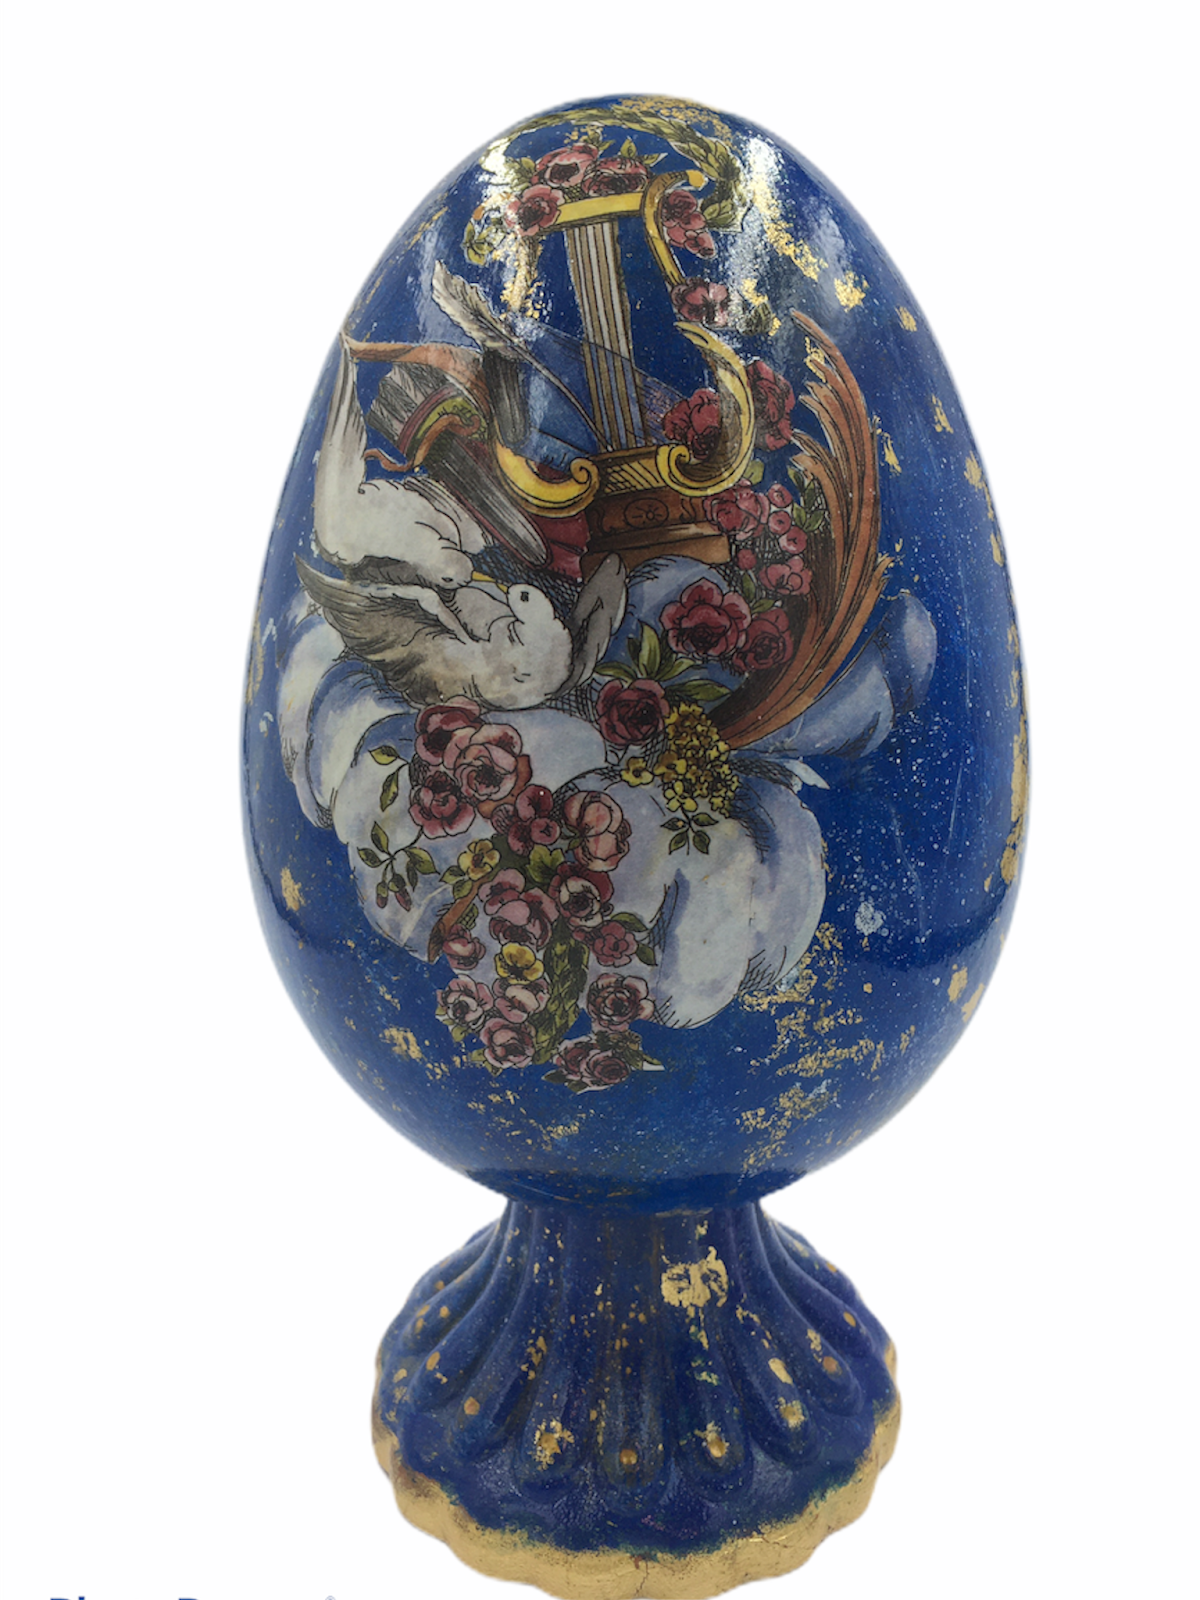
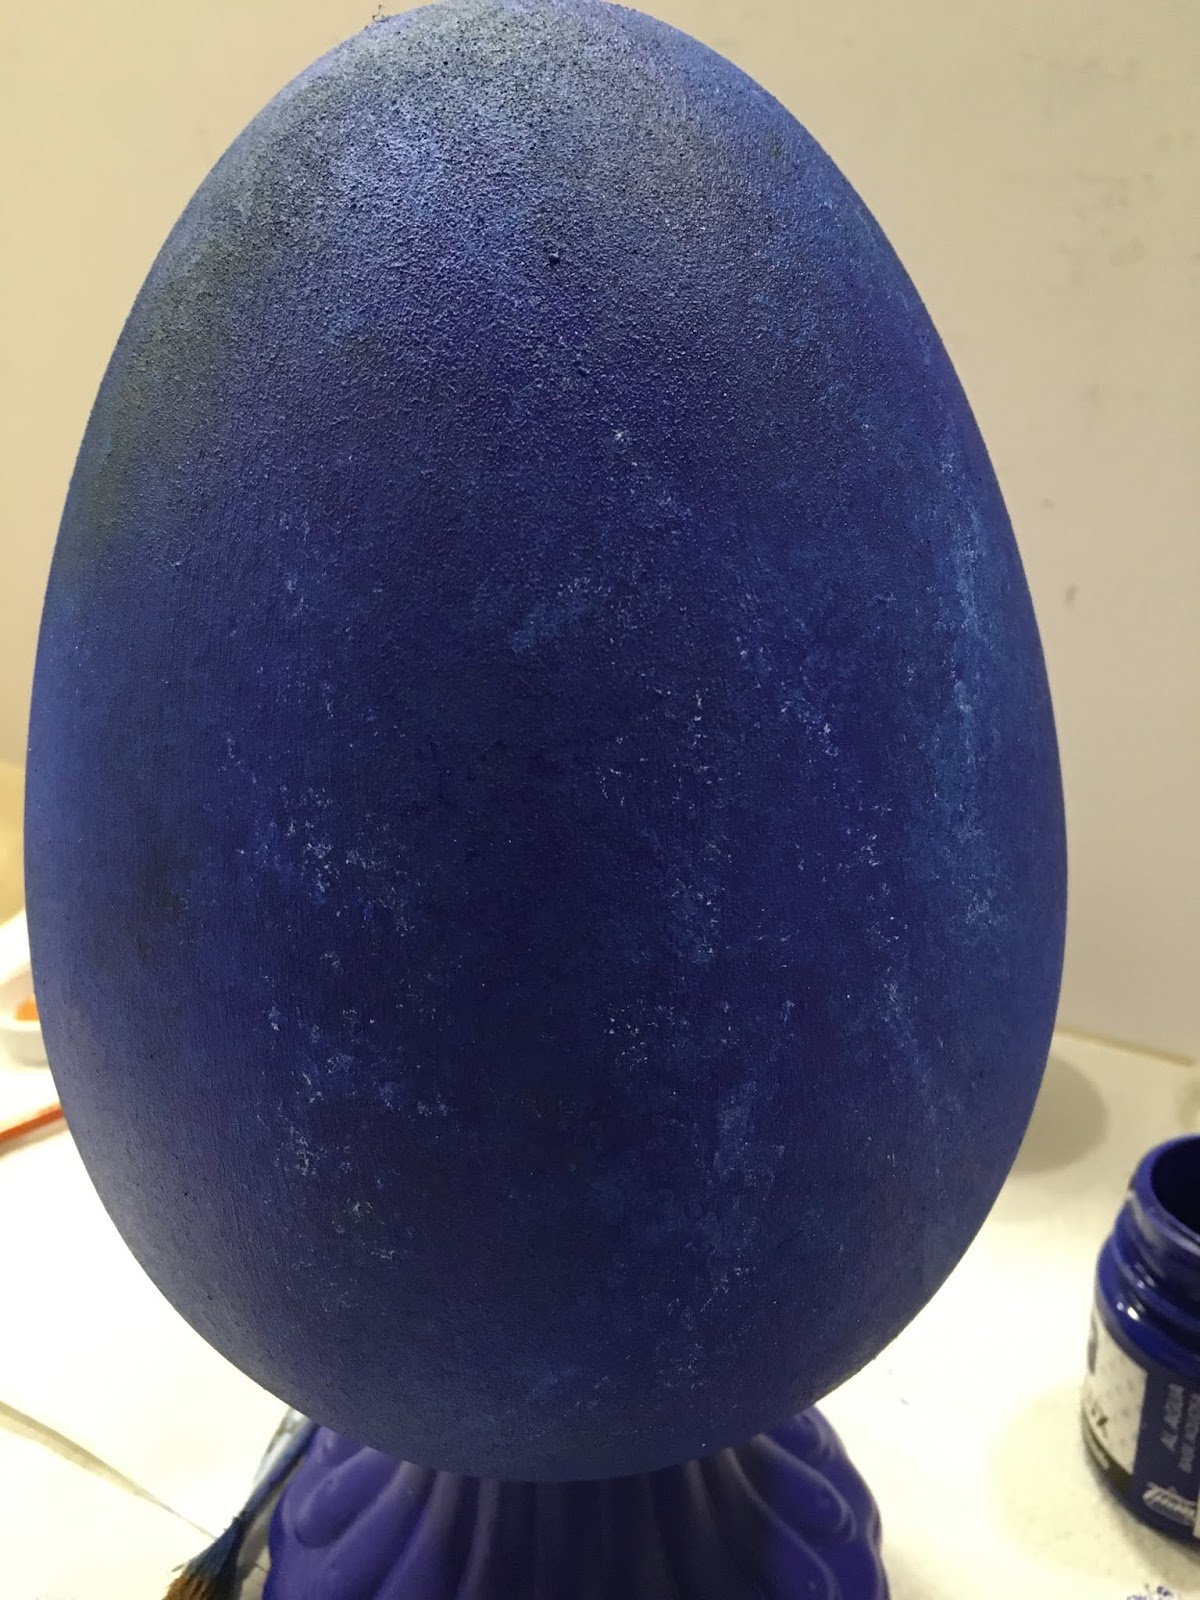
With this photo tutorial I will show you how to create the effect of Lapis Lazuli on a large ceramic egg. Of course you can create this effect on any item of your choice.


Products needed: 

1 ceramic egg with stand
Acrylic paints Burnt Sienna, Azul Ultramarine, Azul Marino, Light Blue, White
Gesso
Decoupage papers
Water based varnish
Glue
Mixion
Gold leaf
Gold powder

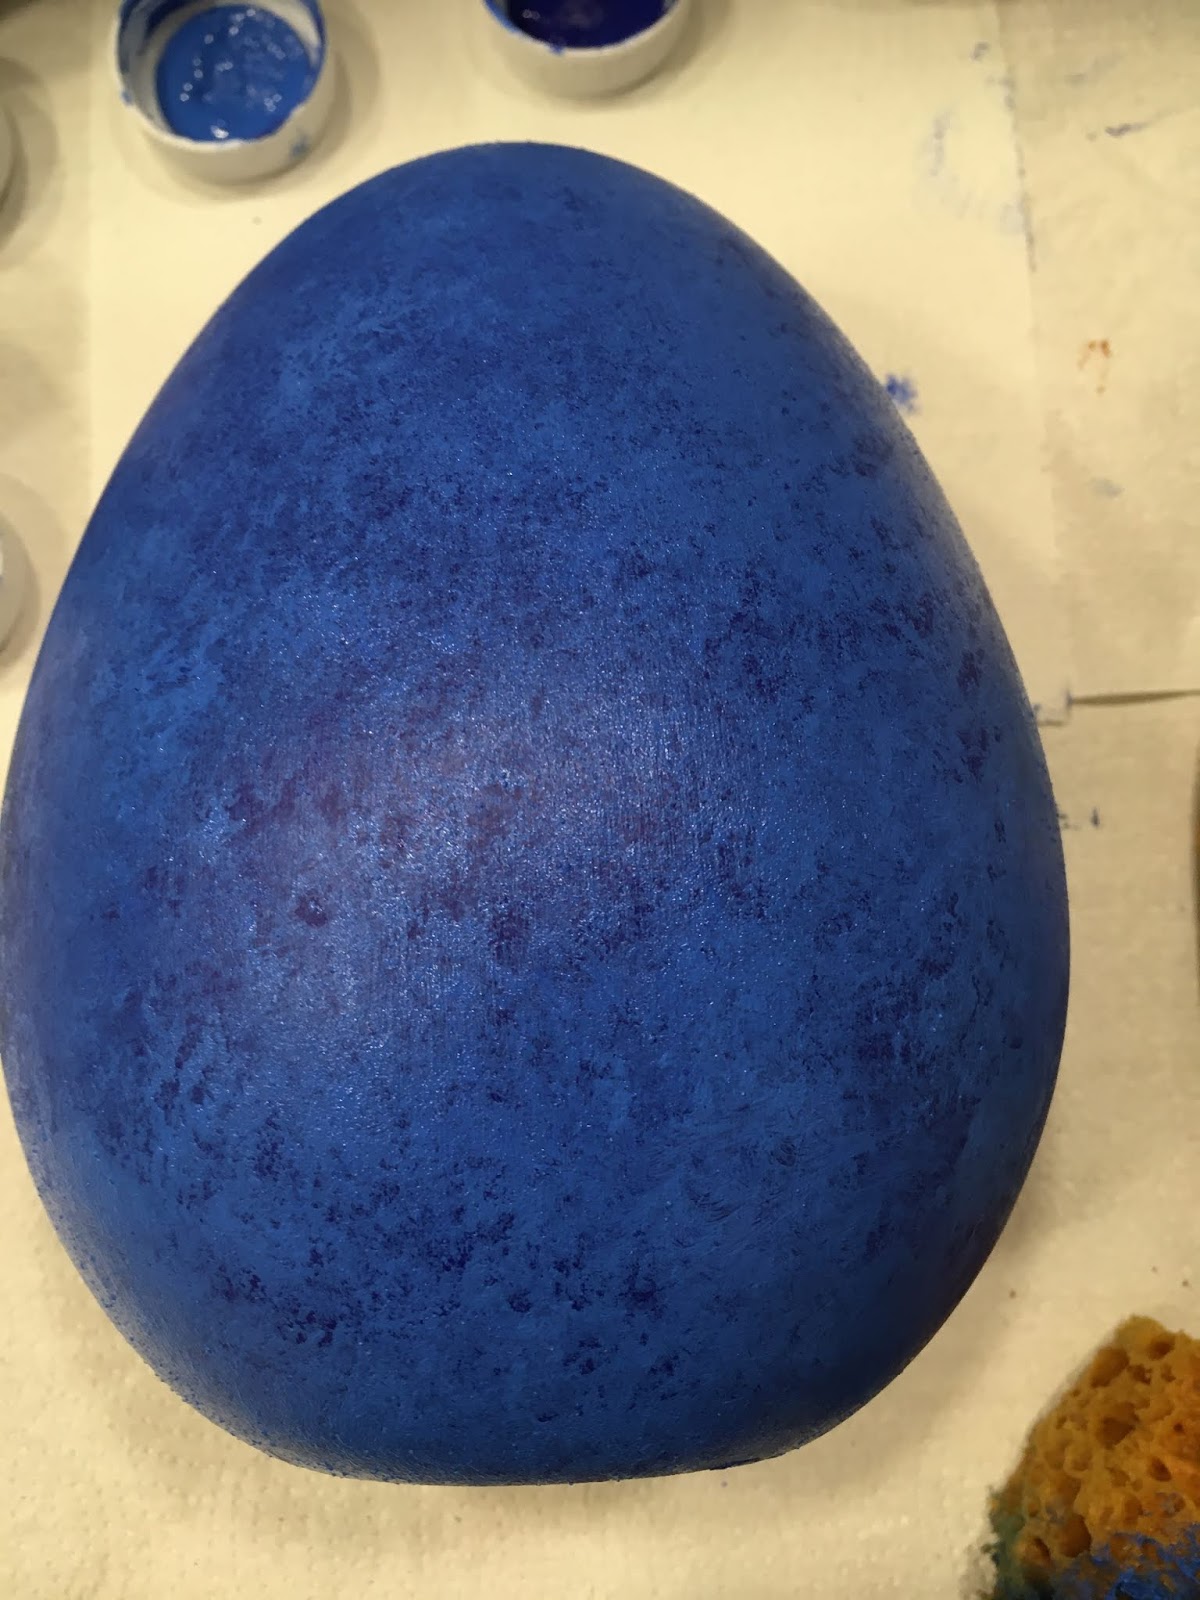
Step 1. Apply to the whole egg and the stand a coat of gesso and when dry paint the egg with two coats of Azul Marino.


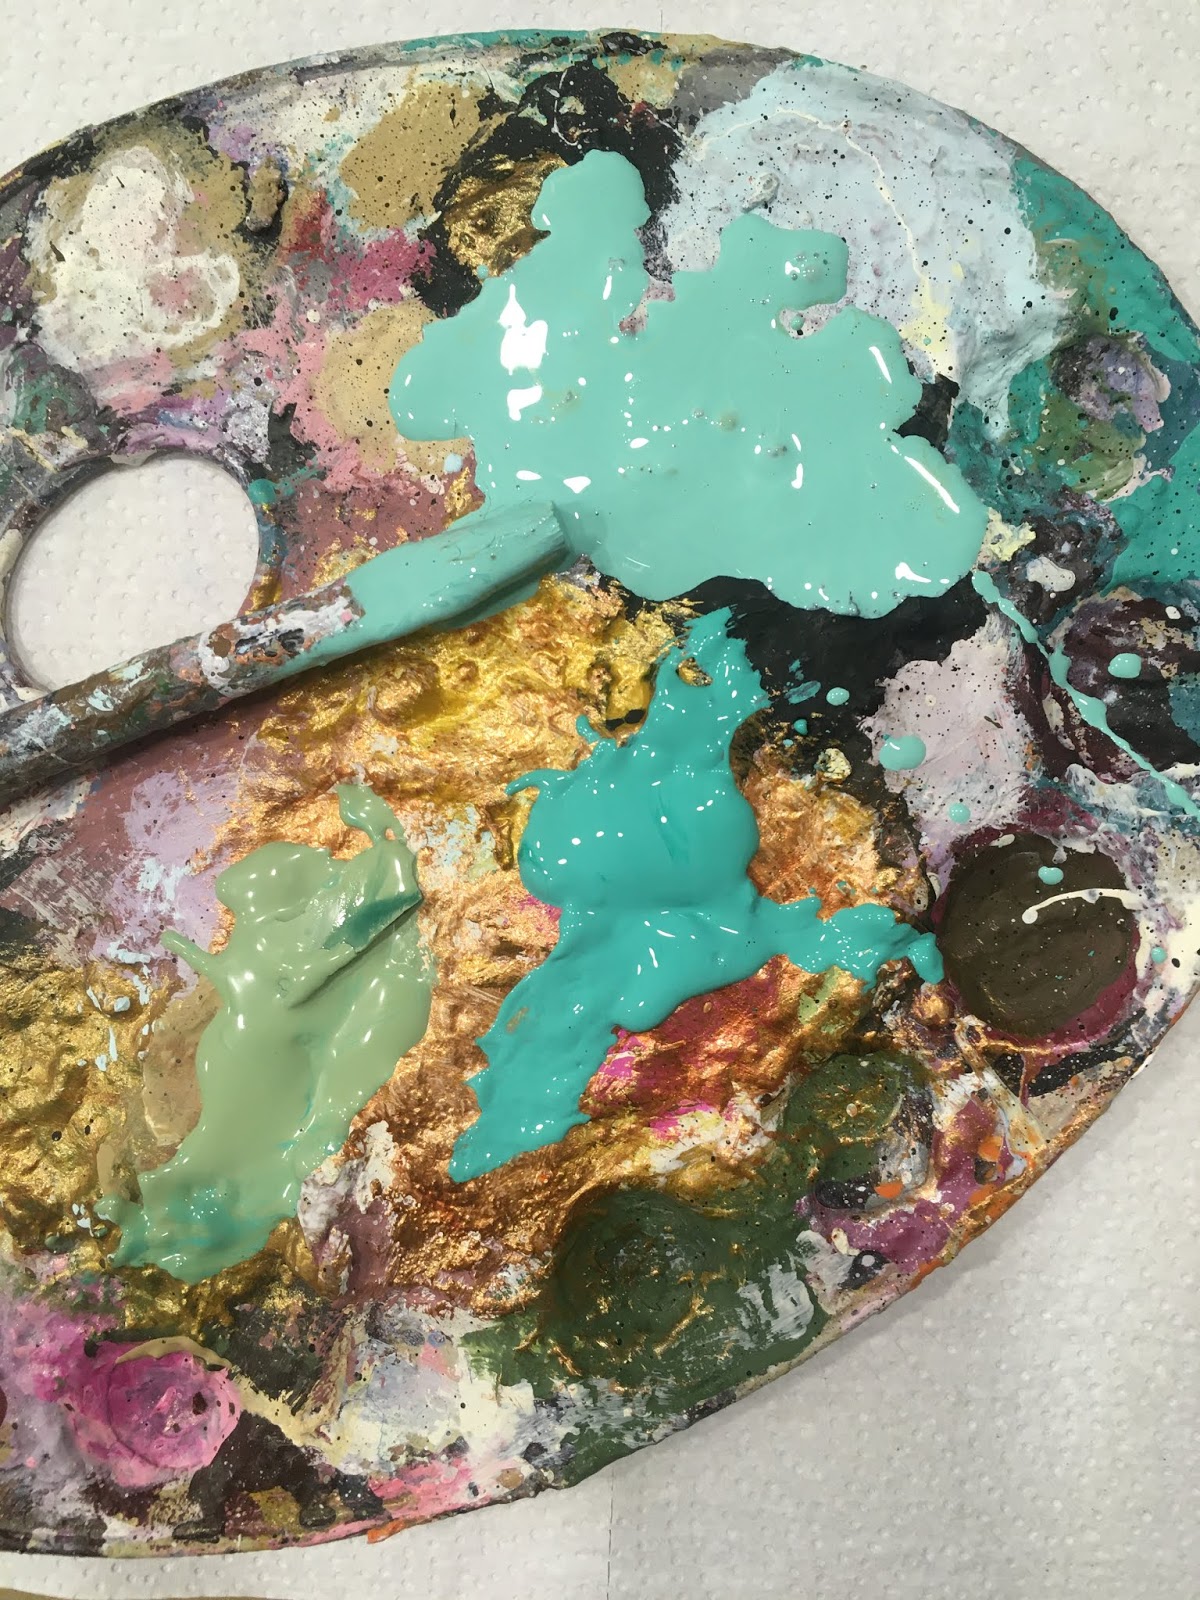
 Step 2. On your paint pallet pour out a little of all the shades of blue and using a synthetic sea sponge dab on the Azul Ultramarine and the light blue but do not cover the initial coat of paint completely.


 Step 3. Using a brush dab on a little Burnt umber and then blend it using the sea sponge with a mixture of the blue paints.


Step 4. Using a fan brush add a little thick white paint to the tip and lightly dab on some white to create veins. Dab on some Burnt umber and some blue to create the veins.


Step 5.  To create the gold veins apply mixion to various areas and then stick the gold leaf.
  

Step 6. To create the gold flecks apply a coat of varnish and before the varnish dries tap on some gold powder and either blow or use a hairdryer to spread the powder on the surface of the egg then apply a splattering of white paint to various areas o the egg.


 Step 7. Apply the decoupage.


 Step 8. Apply several coats of water based gloss varnish to complete your art work.


Wednesday 22 April 2020

Romantic springtime Easter eggs!


I know that Easter is now finished for this year, but because I had been asked to do a workshop for these romantic Easter eggs at my shop which due to the Corona-virus I was unable to so, so I thought it would be nice to do a photo tutorial for my blog.

These Easter eggs are very easy to do and I love the way they look, I think that they really bring spring into our homes. I hope you like them too!

Materials needed:

Styrofoam egg

Acrylic gesso
Cement paste
Hot glue gun
Fabric flowers
Ribbon
Acrylic or chalk paints 2 -3 toning colours

 STEP 1:


Paint the egg with a coat or two of acrylic gesso and allow to dry.

STEP 2:


 Apply with a spatula, a layer of the cement paste and allow to dry completely.

 STEP 3:


Using your chosen colors paint the cement mixing your colors so that the one color blends into the other. You can also allow the cement to show through in places but make sure you paint over the gesso so that it does not show through. Once the paint has dried you can apply splatters of white paint with an old toothbrush or paint brush.

STEP 4:


With your hot glue gun glue the two sides of the your egg together and then attach your ribbon around the join. 

STEP 5:


Glue your flowers to the ribbon and any other embellishments such as string, feathers etc that you like and there you go! Ready to bring spring into your home.....

I'm waiting to see your artworks too! I would love you to share them in our Facebook group, 

Yours friendly,
Fiona

Wednesday 1 April 2020

Decoupage is an expensive hobby! Or not?


Sometimes a lady will come into my shop saying that she really admire the items that I create and would love to take up decoupage but it’s such an expensive hobby!

Let me just say that this is not the case - decoupage can be as expensive as you want it to be!
Take traditional decoupage, in 18th century France, découpage (taken from the verb découper, ‘to cut out’) became extremely popular, black and white images were hand-colored, cut out and glued onto the surface of furniture. Several layers of varnish were applied to create the high-gloss sheen reminiscent of traditional lacquer work.


So all you need is gesso, glue, varnish, some basic acrylic paint colors and most importantly, beautiful images, once you have these then you can create endless beautiful projects.
You can either purchase items to decorate or you can up-cycle that old tray, box, frame or even unwanted items of furniture that you have hidden away somewhere because you don’t really want to throw them away!


Of course there is a huge supply of decoupage products in the market and companies are coming out with new techniques and hundreds of products all the time. Don’t feel that you have to purchase everything that comes out as this is when decoupage gets really expensive.

Take time to think about what you would like to create, do you have a certain style? Don’t forget that quite often less is more.... Even after many years of practicing decoupage both as a hobby and professionally, I still find myself using certain products.
I love using crackle paste, crackle varnish and crazy crackle. I use these products a lot to enhance or age an item that I am working on.


I can’t get enough of paint, whether chalk paint, acrylic paint, metallic paint etc. I love opening a new pot of paint, it’s so satisfying!


Along with the above, stencils, modeling paste, metal leaf, image transfer medium and embellishments are my key creative products, although of course I do experiment and use the many wonderful products that are in the market.

If you want to up-cycle, or make gifts that express your individuality, create beautiful and useful items for your home or you just want to escape from your everyday routine and do something for yourself then decoupage is for you!